Makeup by Feature: How to Enhance Your Eyes, Lips, Brows and Face Shape
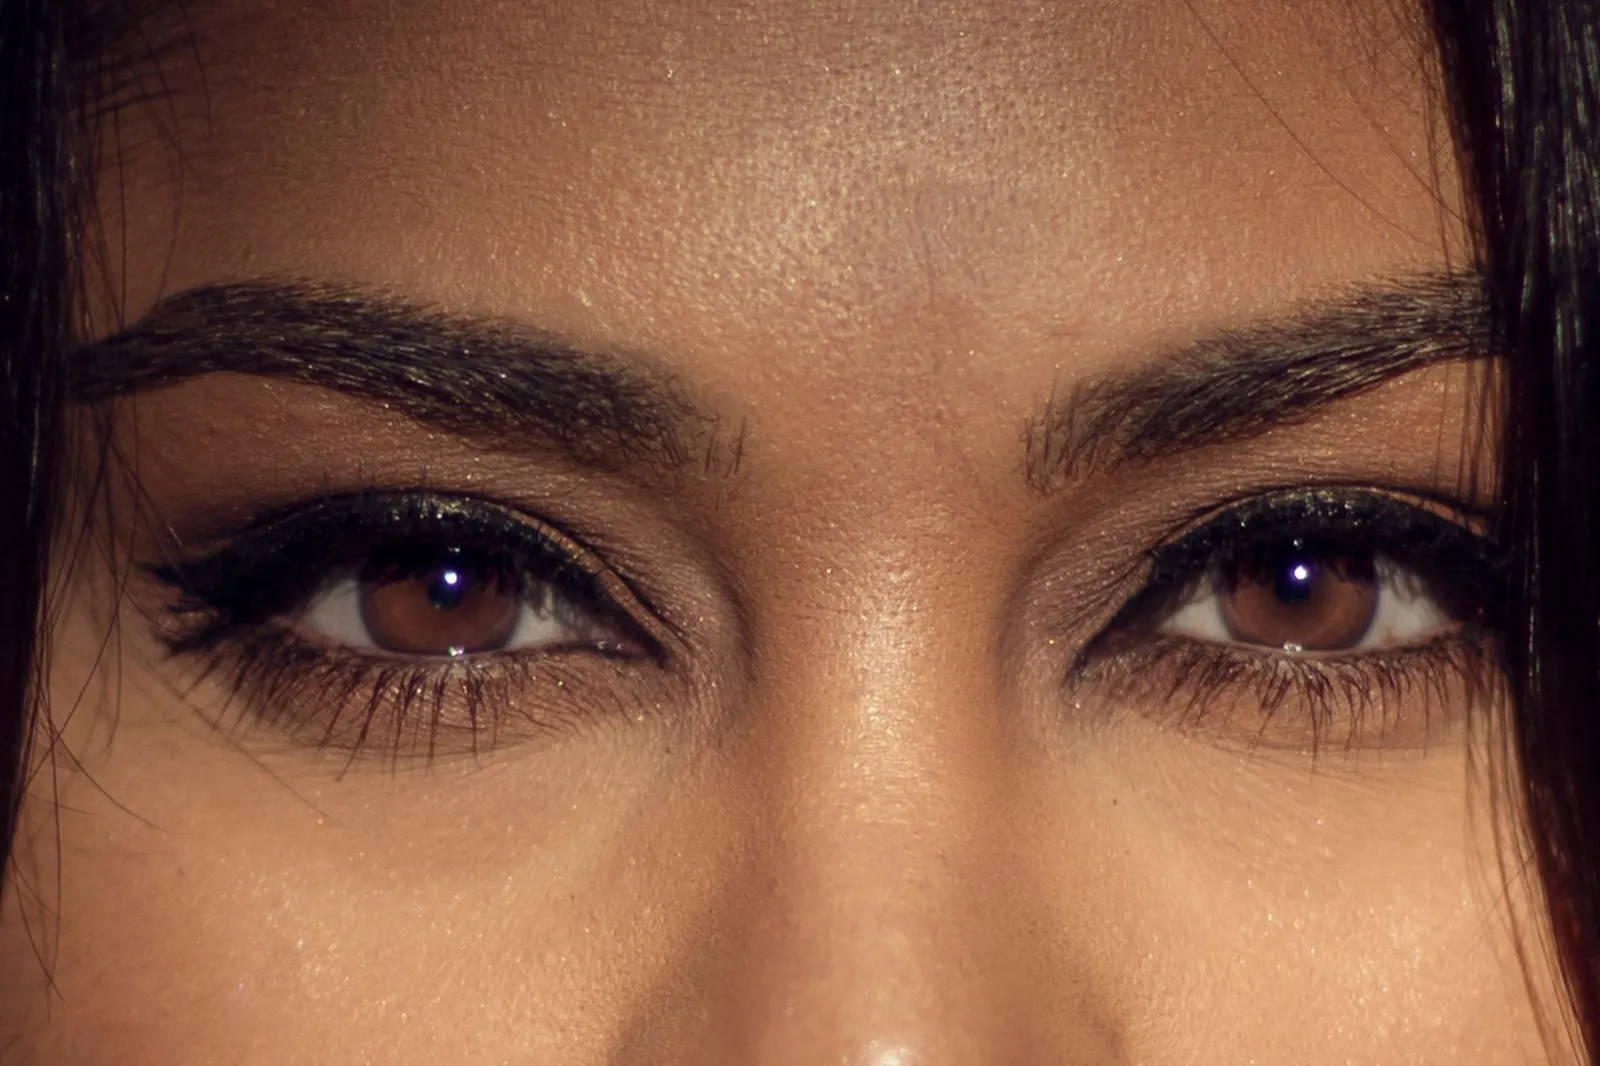
Image Credit: Pexels / Gursher Gill
Makeup by feature means adjusting colour, placement, and technique to suit the natural shape of your eyes, lips, brows, and face. You might use eyeliner to emphasise almond eyes, place blush higher to create a lifted effect, or use lip liner to define a soft lip border.
These techniques are options, not rules. No feature needs correcting, and you do not have to make your face look slimmer, more symmetrical, or closer to a particular beauty ideal. The most useful approach is to decide which feature you want to emphasise, then use makeup to create the effect you enjoy.
What does makeup by feature mean?
Makeup by feature focuses on individual shapes and proportions rather than applying every product in exactly the same way.
It may include:
- Eyeshadow placement for different eye shapes
- Eyeliner adapted to hooded, round, or almond eyes
- Brow shaping based on natural growth
- Blush placement for different face shapes
- Contour and bronzer placement
- Lip liner techniques for thin, full, or uneven lips
- Highlighter placement
You do not need to identify your face perfectly before applying makeup. Many people have a mixture of characteristics, such as slightly hooded almond eyes or a face that sits between oval and heart-shaped.
How to decide which feature to emphasise
Choose one part of your face that you would like to bring forward.
You might focus on:
- Bright, defined eyes
- Glowing cheeks
- Strong brows
- A bold lip
- Sculpted cheekbones
- Fresh, natural skin
Focusing on one feature can make a routine feel simpler, although there is no rule against wearing dramatic eyes, strong blush, and bold lipstick together.
Makeup for different eye shapes
Eye shape can affect where eyeshadow and eyeliner remain visible. Looking straight into a mirror with your face relaxed can help you see the natural folds and angles around your eyes.
Your two eyes may not be identical. Small differences are common, and you can adjust each side individually.
Hooded eyes
For hooded eyes, apply your crease shade while looking straight ahead. Place the colour slightly above the natural fold so it remains visible when your eyes are open.
Keep eyeliner narrow and close to the upper lashes. If you want a wing, sketch it while your eye is open and relaxed.
Curling the lashes before mascara can help them remain visible. A long-wearing or tubing mascara may reduce transfer onto the upper lid.
Almond eyes
Almond eyes are usually slightly elongated, with the outer and inner corners narrowing to soft points.
Blend shadow outwards, add depth at the outer corner, and apply a lighter shade to the centre or inner part of the lid. A thin line that gradually becomes wider towards the outer corner can emphasise the natural shape.
Round eyes
Round eyes often appear open, with more of the white of the eye visible around the iris.
To emphasise openness, apply mascara to both the upper and lower lashes and place a light or shimmer shade at the centre of the lid.
To create a more elongated appearance, blend darker eyeshadow towards the outer corner, extend eyeliner slightly beyond the eye, and concentrate mascara on the outer lashes.
Deep-set and prominent eyes
For deep-set eyes, a light or medium shade across the mobile lid can bring it forward visually. Keep deep shadow near the outer corner and lash line if you want definition.
For prominent eyes, matte and satin shadows can add depth across the lid. A slightly thicker line may suit the available lid space, and pencil liner can be smudged around the outer lash line for a softer finish.
Monolids and downturned eyes
For monolids, apply the deepest colour near the lash line, then blend gradually into lighter shades as you move upwards. Check placement with your eyes open so the colour remains visible.
For a lifted effect on downturned eyes, blend eyeshadow upwards from the outer corner towards the end of the brow. Angle eyeliner slightly upwards before reaching the natural end of the eye.
Makeup for different eyebrow shapes
Brows frame the face, but they do not need to be perfectly matched.
Follow your natural hair pattern first. Brush the hairs upwards and outwards before deciding where to add colour.
Sparse eyebrows
Use a fine pencil, brow pen, or small angled brush to add light strokes where hair is missing. Concentrate on gaps rather than filling the entire brow with one solid block of colour.
Thick eyebrows
Thick brows may need only light grooming. Brush them into place with clear or tinted gel, then add pencil only where you want to improve the outline or fill a small gap.
Uneven eyebrows
Most brows differ slightly in height, shape, or density. Begin with the less full brow and add small amounts of product. Then make lighter adjustments to the fuller side.
Aim for related shape rather than exact symmetry.
Blush placement for different face shapes
Blush placement changes the direction in which the eye follows the face.
Round face
For a lifted effect, place blush slightly above the apples of the cheeks and blend towards the temples. For a soft, rounded appearance, apply blush directly to the apples and blend gently outwards.
Oval face
Apply blush to the upper cheeks and blend outwards. You can place it more centrally for a fresh look or higher towards the temples for lift.
Square face
Apply blush to the rounded part of the cheeks and soften it towards the temples. Circular blending can complement the natural angles.
Heart-shaped or long face
For a heart-shaped face, place blush on the outer part of the cheeks and blend slightly upwards.
For a long face, apply blush across the cheeks in a slightly horizontal direction if you want to create the impression of width.
Contour, bronzer, and highlighter
Contour uses a shade that resembles natural shadow to create definition. Bronzer adds warmth.
You do not need to contour your whole face. Choose one or two areas and use a small amount.
For a round face, blend contour upwards beneath the cheekbones and lightly around the outer forehead. For a square face, soften the outer forehead and jaw angles. For a long face, use light contour near the top of the forehead and beneath the chin if you want to create a shorter-looking effect.
Bronzer should usually sit where warmth would look believable:
- Forehead
- Temples
- Upper cheeks
- Across the bridge of the nose, if desired
- Along the jaw
Highlighter brings an area forward visually. Common placements include the tops of the cheekbones, inner corners of the eyes, brow bones, bridge or tip of the nose, Cupid’s bow, and centre of the eyelid.
Makeup for different lip shapes
Use lip liner close to your natural outline. Small adjustments tend to look more believable than drawing far outside the lips.
Thin lips
Apply lip balm, then use a liner close to your natural lip colour. Trace slightly outside the border at the centre, returning to the natural line near the corners. Add gloss to the centre if desired.
Full lips
Full lips can wear any finish or colour. For clear definition, trace the natural border with lip liner before applying lipstick. For a softer look, blur the edge gently with a fingertip or small brush.
Uneven lips
Use a sharpened lip liner and make small adjustments only where needed. Correct the outline gradually rather than redrawing the entire mouth.
Soft lip borders
Use a liner close to your lipstick colour and sketch the outline using short strokes. Begin at the Cupid’s bow and centre of the lower lip, then connect towards the corners.
Makeup for different nose shapes
Nose contour is optional and can be difficult to keep natural in daylight.
Use a small brush and a contour shade that resembles shadow rather than orange bronzer. To make the nose appear narrower, apply two fine lines along the sides of the bridge and blend carefully. To create more definition at the tip, use a small amount of contour around the lower sides.
Keep changes soft, especially from the side.
Makeup for freckles and beauty marks
To keep natural freckles visible, use a skin tint or lightweight foundation and apply concealer only where needed.
If you want to create cosmetic freckles, use a product intended for cosmetic use, such as a fine brow pen or freckle product. Do not use ordinary pens or art supplies on your skin.
A beauty mark may disappear beneath foundation. If you want to bring it back, apply your base first, then use a fine cosmetic pencil to place a small dot over the original mark.
A mark that is new, changing, bleeding, painful, or not healing should be assessed by a qualified healthcare professional rather than simply covered.
Common mistakes with feature-based makeup
Common mistakes include:
- Treating face shapes as exact categories
- Trying to make both sides identical
- Using too much contour
- Overdrawing the lips too far
- Copying placement without checking your own features
- Assuming a feature needs correcting
Faces rarely fit perfectly into one description. Use techniques that create the effect you enjoy.
When to get professional help
A qualified makeup artist can help you adapt techniques to your individual features, particularly for a wedding, photoshoot, or special event.
Speak to a pharmacist, GP, optometrist, or dermatologist if makeup causes persistent redness, pain, itching, swelling, or a rash.
Stop using eye products if you develop irritation or an eye infection. Seek prompt advice for eye pain, discharge, significant swelling, changes to your vision, or an injury caused by an applicator.
Seek urgent medical help if a cosmetic reaction causes difficulty breathing or swelling of your lips, mouth, tongue, or throat.
Related reading
- Makeup Basics for Beginners: Step by Step Guide
- Eye Makeup for Beginners: A Complete Guide to Beautiful, Easy Looks
- Lip Makeup Guide for Beginners: Products, Application and Everyday Tips
- Makeup by Skin Tone: How to Choose Flattering Colours and Foundation