Makeup Tools for Beginners: A Complete Guide to Brushes, Sponges and Applicators
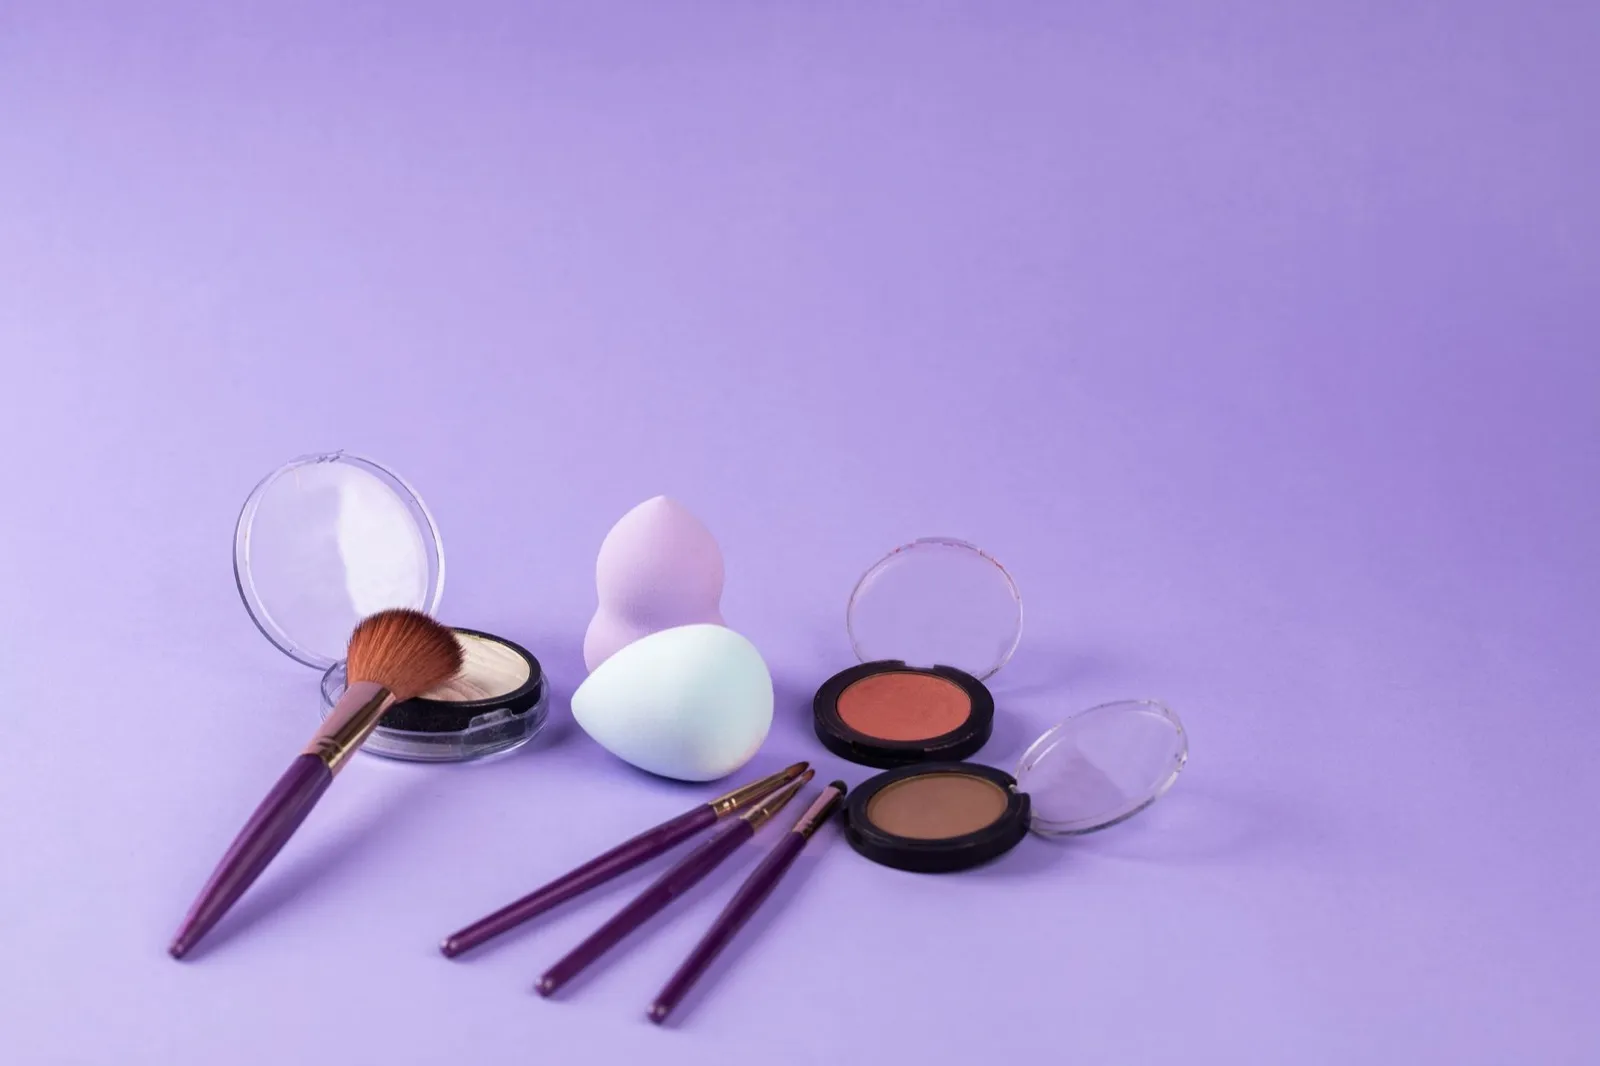
Image Credit: Pexels / Maria Camila Castaño
The most useful makeup tools for beginners are a foundation brush or sponge, a concealer brush, a powder brush, a blush brush, two or three eyeshadow brushes, and an eyelash curler. You do not need a large professional brush set to apply makeup well.
The right tools can make products easier to blend and help you control how much makeup you apply. However, your fingers can also work beautifully for many cream and liquid formulas. The best choice depends on the product, the finish you prefer, and how much time you want to spend on your routine.
What are makeup tools?
Makeup tools are brushes, sponges, and applicators used to apply, blend, or remove cosmetic products.
Common examples include:
- Foundation brushes
- Concealer brushes
- Powder brushes
- Blush brushes
- Contour brushes
- Eyeshadow brushes
- Eyeliner brushes
- Brow brushes
- Makeup sponges
- Powder puffs
- Eyelash curlers
- Tweezers
- Pencil sharpeners
- Lip brushes
Some tools have a very specific purpose, while others can be used for several different products. A soft blush brush, for example, may also work for bronzer or light powder application.
Essential makeup tools for beginners
You can create a full everyday look with a small collection of practical tools.
A useful beginner set may include:
- One foundation brush or makeup sponge
- One small concealer brush
- One large powder brush
- One medium blush brush
- One flat eyeshadow brush
- One fluffy blending brush
- One small angled brush
- One spoolie
- One eyelash curler
These tools cover the main steps of face and eye makeup without filling your makeup bag with brushes you may never use.
Face makeup brushes explained
Foundation brush
A foundation brush is used to spread and blend liquid or cream foundation.
There are several common shapes:
- Flat foundation brushes
- Rounded buffing brushes
- Dense flat top brushes
- Angled foundation brushes
A flat brush can paint product onto the skin, while a dense buffing brush creates a more blended finish using small circular motions.
Start with a small amount of foundation. Blend from the centre of the face towards the hairline and jaw so the coverage gradually becomes lighter around the edges.
Concealer brush
A concealer brush is smaller than a foundation brush and allows you to apply product precisely.
Flat concealer brushes work well for placing product over blemishes or areas of discolouration. Small fluffy brushes create a softer finish under the eyes.
You can also use a clean fingertip to blend concealer. The warmth of your skin may help soften creamy formulas.
Powder brush
A powder brush has a large, soft head designed to distribute loose or pressed powder lightly across the skin.
Dip the brush into the product, tap away the excess, and gently sweep or press powder onto areas that need setting.
Avoid loading the brush with too much powder. A light application is usually enough to reduce shine without making the skin look heavy.
Blush brush
A blush brush is usually smaller than a powder brush, with soft bristles that fit comfortably over the cheeks.
Use it to apply powder blush to the apples of your cheeks or slightly higher along the cheekbones. A medium-sized blush brush can also be used for bronzer, making it a practical choice for a small beginner kit.
Bronzer brush
Bronzer brushes are often large and rounded, allowing you to spread warmth across the forehead, temples, cheeks, and jawline.
A loosely packed brush creates a softer result. A dense brush deposits more colour, so begin carefully if your bronzer is highly pigmented.
Contour brush
A contour brush is usually narrower or angled so it can place product beneath the cheekbones and around the edges of the face.
Contour should be blended until there are no obvious lines. A small angled brush gives you control, while a clean fluffy brush can soften the edges afterwards.
Highlighter brush
A highlighter brush may be small and tapered or shaped like a fan.
Use it to place highlighter on areas such as the tops of the cheekbones, brow bones, and Cupid’s bow.
Eye makeup brushes explained
Flat eyeshadow brush
A flat eyeshadow brush has short, compact bristles that pick up and press colour onto the eyelid.
Rather than sweeping the brush back and forth, use gentle patting movements. This helps create more even colour and may reduce fallout.
Fluffy blending brush
A fluffy blending brush is used to soften eyeshadow in the crease and blend the edges between different shades.
Move it gently in small circles or from side to side. Use light pressure so the colour remains controlled.
Pencil brush
A pencil brush is small, rounded, and slightly pointed.
It can be used to:
- Apply shadow along the lower lash line
- Deepen the outer corner
- Smudge pencil eyeliner
- Add highlighter to the inner corner
Angled eyeliner brush
An angled brush has short bristles cut into a slanted shape.
It can be used with gel eyeliner, powder eyeshadow, brow powder, or brow pomade. The fine edge helps create a defined line close to the lashes.
Spoolie
A spoolie looks similar to a clean mascara wand.
Use it to brush eyebrow hairs into place, distribute brow gel, or soften brow pencil that looks too strong. It can also separate lashes after mascara, but only use a clean tool and be very careful near the eye.
Lip makeup tools
Lip brush
A lip brush is small and firm, with a narrow tip for precise application.
It can help you:
- Define the edge of the lips
- Apply bold lipstick evenly
- Reach remaining product in a lipstick tube
- Blend lip liner into lipstick
- Mix two shades together
Lip pencil sharpener
A cosmetic pencil sharpener keeps lip liners precise and easier to control.
Use a sharpener designed for makeup rather than an ordinary stationery sharpener. Cosmetic pencils are softer and may require a different blade or opening size.
Makeup sponges
A makeup sponge can blend foundation, concealer, cream blush, and other liquid or cream products.
Rounded areas are useful for larger parts of the face, while a pointed tip can reach around the nose and under the eyes.
Should you wet a makeup sponge?
Many reusable makeup sponges are designed to be used slightly damp.
Run the sponge under clean water, squeeze out the excess, and press it into a clean towel. It should feel damp but not drip.
A damp sponge may absorb less foundation and create a lighter, more blended finish. Always check the manufacturer’s instructions, as not every applicator is intended to be wet.
How to use a makeup sponge
Apply small dots of makeup to your face or place the product on the back of a clean hand.
Use the sponge to gently press and bounce product across your skin. Avoid dragging it, as this may create streaks or move products underneath.
Powder puffs
Powder puffs are designed to press loose or pressed powder into the skin.
Large, soft puffs work well for the face, while small triangular puffs can reach under the eyes and around the nose. A puff usually deposits more powder than a fluffy brush, so use a small amount and press rather than rub.
Eyelash curlers
An eyelash curler gently lifts the lashes before mascara.
To use one:
- Make sure your lashes are clean and free from mascara.
- Open the curler and position it near the base of your upper lashes.
- Check that no eyelid skin is caught.
- Squeeze gently for a few seconds.
- Release fully before moving the tool away.
- Apply mascara afterwards.
Do not pull the curler while it is closed. Replace the rubber pad if it becomes split, hard, or damaged.
Curling lashes after mascara has dried may cause them to stick to the tool or break, so it is generally better to curl first.
Tweezers and fingers as makeup tools
Tweezers can be used to remove stray eyebrow hairs or position false lashes. Clean the tips after use and store them with a protective cover if one is supplied.
Clean fingers can work well for skin tint, cream blush, cream eyeshadow, concealer, lip balm, and liquid highlighter. Wash and dry your hands before applying makeup. Use a clean spatula rather than repeatedly placing your fingers into a jar if you want to reduce product contamination.
Natural and synthetic makeup brushes
Makeup brushes may be made with synthetic fibres or natural animal hair.
Synthetic brushes are widely available and work particularly well with liquids and creams because the fibres tend to absorb less product. They are also an option for people who prefer not to use animal-derived materials.
Natural-hair brushes are often associated with powder products, although modern synthetic brushes can also blend powders effectively.
The shape, softness, and density of a brush usually matter more than whether it is labelled for one particular product.
How to choose good makeup brushes
Expensive brushes are not always necessary. A useful brush should feel comfortable and perform the job you bought it for.
Look for:
- Soft bristles that do not scratch
- A handle that feels comfortable to hold
- A securely attached metal ferrule
- Minimal shedding
- A shape suited to the product
- Bristles that return to their shape after washing
A very large brush collection may seem appealing, but a smaller group of reliable tools is often easier to use, clean, and store.
How to clean makeup brushes and sponges
Regular cleaning removes old makeup, oil, and debris from the bristles. The American Academy of Dermatology recommends washing makeup brushes every seven to ten days.
To wash a makeup brush:
- Rinse the bristle tips under lukewarm running water.
- Place a small amount of gentle cleanser in your palm.
- Massage the bristles gently without crushing their shape.
- Rinse until the water runs clear.
- Squeeze out excess water with a clean towel.
- Reshape the brush head.
- Lay the brush flat to air dry.
Try not to submerge the ferrule or handle. Water can weaken the glue holding the brush together.
Reusable sponges should be cleaned frequently. Wet the sponge with lukewarm water, apply a gentle cleanser, squeeze and massage it carefully, then rinse repeatedly until the water is clear. Leave it in a ventilated place to dry completely.
Replace a sponge if it develops a persistent smell, visible mould, deep stains that do not wash out, or damage that makes it difficult to clean.
Can you share makeup tools?
It is better not to share tools that come into close contact with the eyes, lips, or broken skin.
Sharing may transfer cosmetic residue and microorganisms between people. Disposable applicators are a safer choice if several people need to use the same product.
How to store and replace makeup tools
Store clean, dry tools somewhere protected from dust and moisture.
Helpful options include:
- A brush holder with a lid
- A clean makeup bag
- A drawer organiser
- Separate containers for clean and used brushes
- Protective caps for sharp tools
Avoid storing damp brushes or sponges in a closed bag. They need airflow to dry properly.
Consider replacing a brush if it sheds heavily, has become rough, no longer returns to its original shape, has a loose handle, or remains dirty or unpleasant-smelling after cleaning. Damaged eyelash curlers and rusty metal tools should not be used near the face or eyes.
Common makeup tool mistakes
Some common mistakes include:
- Buying too many brushes
- Using too much pressure
- Forgetting to clean tools
- Using the wrong tool near the eyes
- Storing damp tools in a closed bag
Keep your starter kit simple. Add another tool only when you notice a genuine gap in your routine.
When to get professional advice
Stop using a makeup tool or product if you develop persistent redness, itching, swelling, pain, or a rash.
Speak to a pharmacist, optometrist, GP, or dermatologist if symptoms continue or if you are concerned about a skin or eye reaction.
Seek prompt medical advice for eye pain, changes to your vision, significant swelling, discharge, or an injury caused by an applicator. Do not continue using eye makeup during an eye infection. Replace products and applicators that may have become contaminated, following advice from a qualified professional.
Related reading
- Makeup Basics for Beginners: Step by Step Guide
- Face Makeup Guide for Beginners: Products, Order and Easy Application Tips
- Eye Makeup for Beginners: A Complete Guide to Beautiful, Easy Looks
- Body Makeup for Beginners: How to Apply It for a Natural, Even Finish